Prerequisites
- WordPress 6.2+ with PHP 8.0+
- GetMCP plugin installed and activated (Installation Guide)
- An API you want to expose (or use a pre-built template for testing)
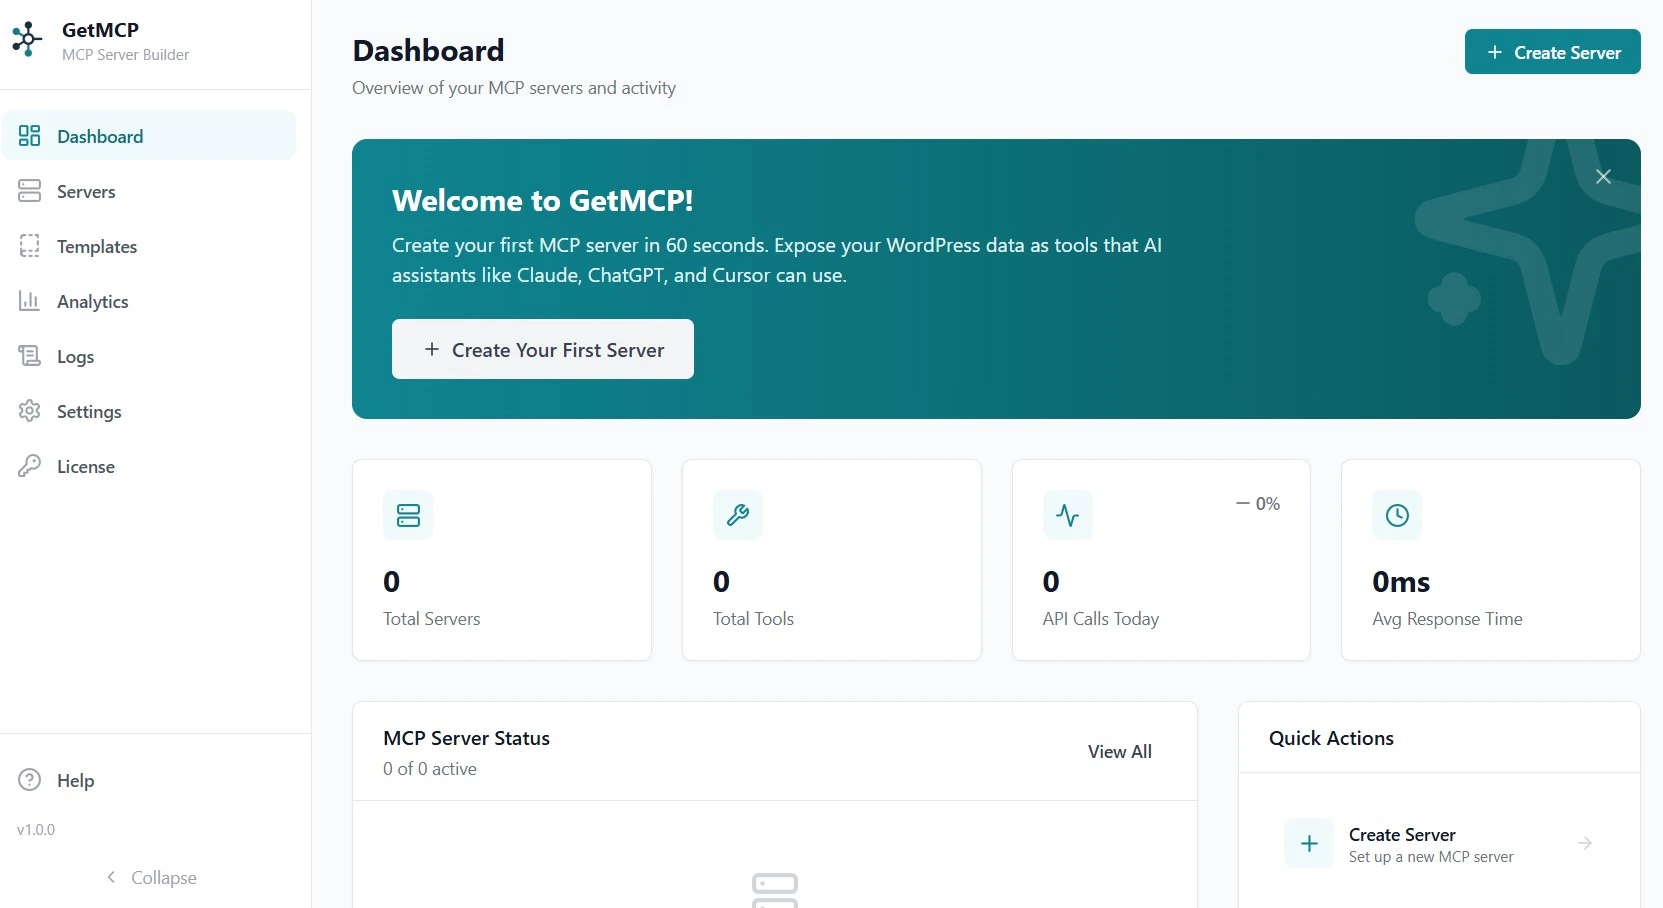
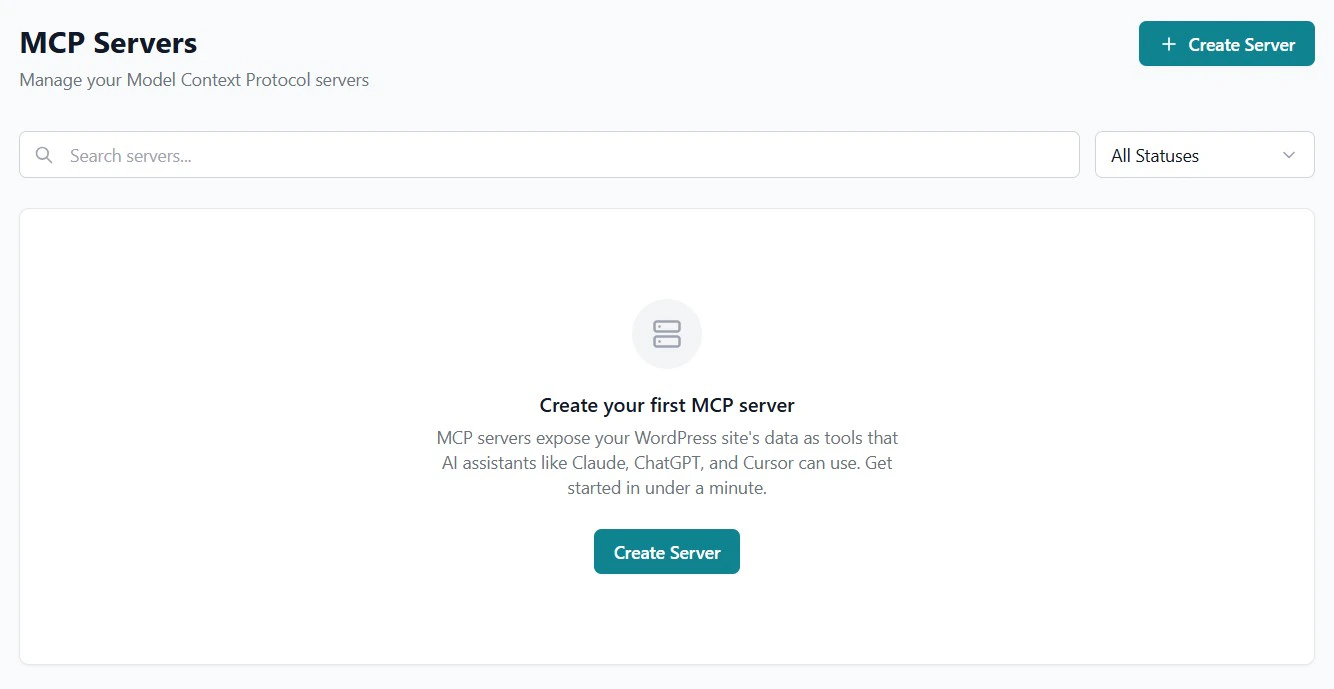
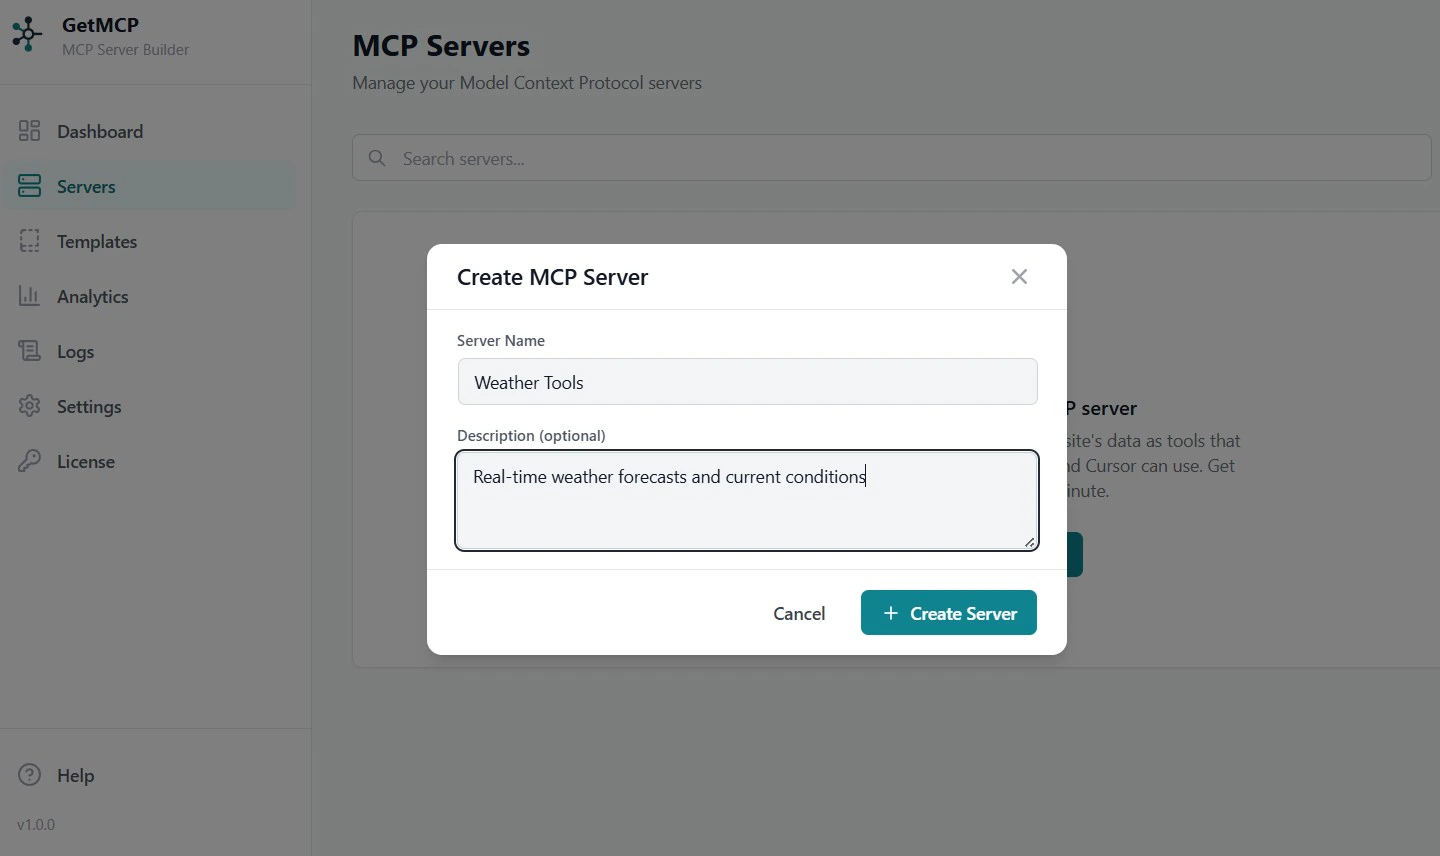
Step 1: Create a Server
Step 2: Add a Tool
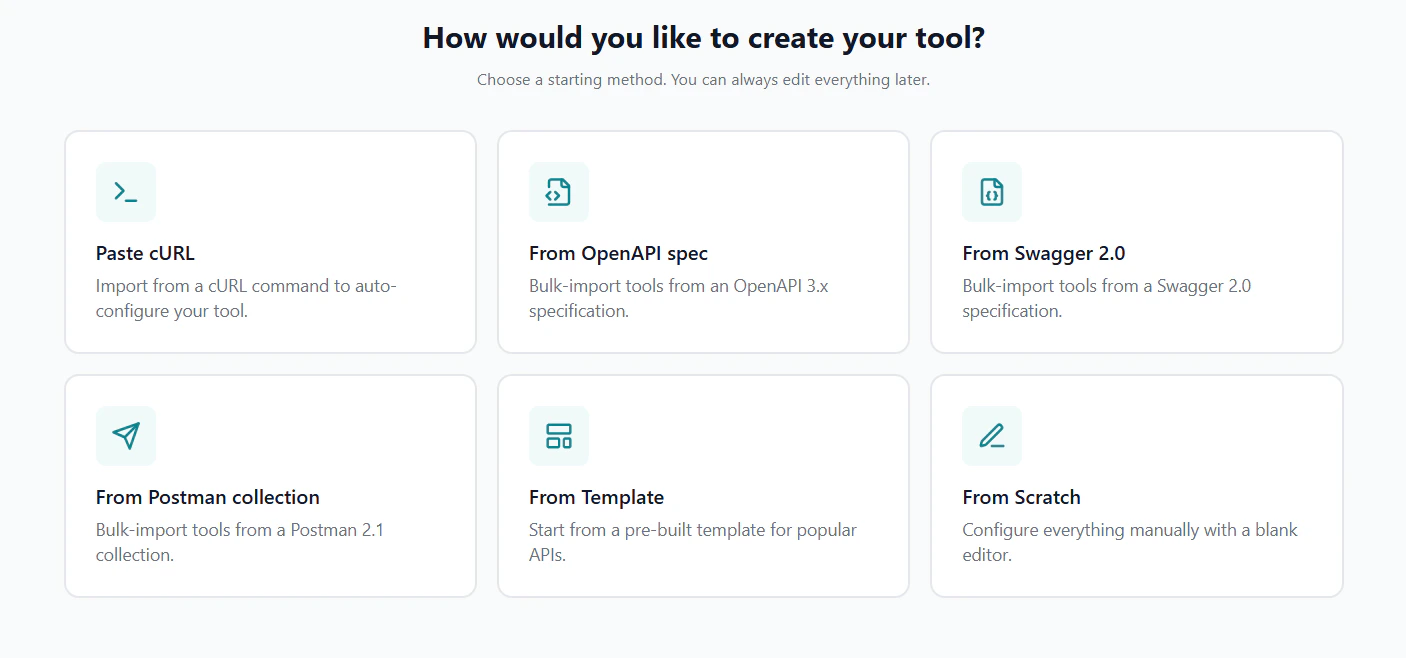
Configure the Tool
Fill in the tool details: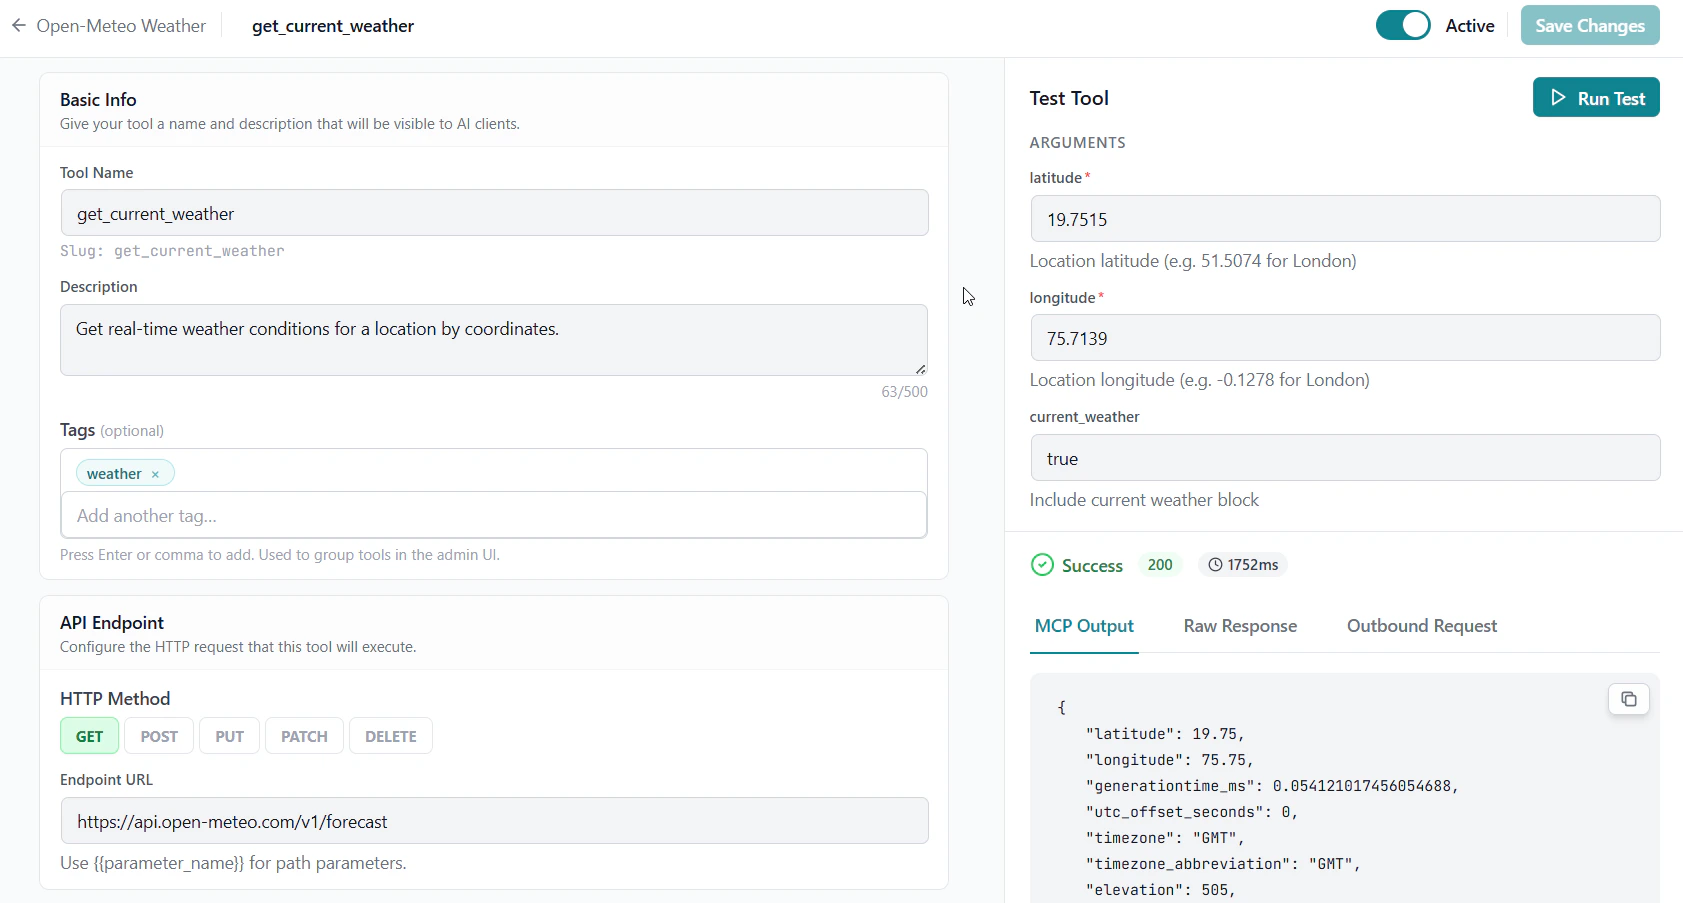
- Name:
get_current_weather(use snake_case — this is how AI clients call it) - Description:
Get real-time weather conditions for a location by coordinates - Endpoint URL:
https://api.open-meteo.com/v1/forecast - HTTP Method:
GET
Define Input Parameters
In the Input Schema section, add three parameters:
All three map as Query parameters — they are appended to the URL as
| Name | Type | Required | Description | Mapping |
|---|---|---|---|---|
latitude | number | Yes | Latitude of the location | Query |
longitude | number | Yes | Longitude of the location | Query |
current_weather | boolean | No | Include current weather conditions | Query |
?latitude=...&longitude=...¤t_weather=true.Step 3: Test the Tool
Before connecting an AI client, verify the tool works correctly.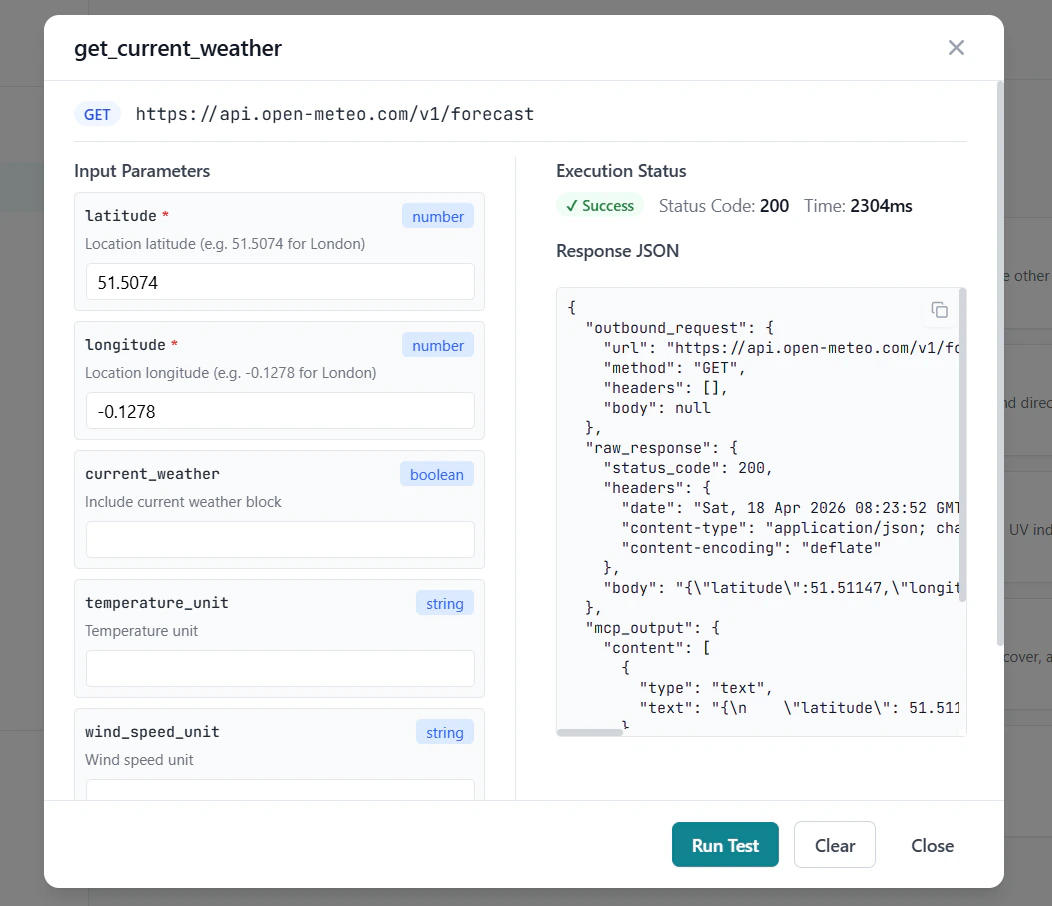
Step 4: Connect an AI Client
Copy the Server URL
On the server detail page, find the Server URL shown at the top. It looks like:Copy this URL. You can also click How to connect on the server detail page to get a pre-filled config snippet for your client.
Configure Your AI Client
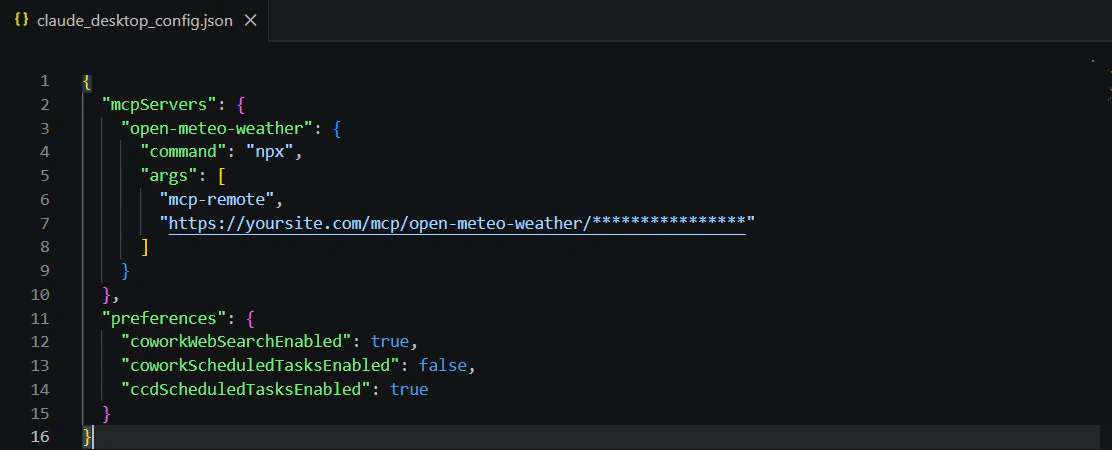
- Claude Desktop
- Claude Code
- Cursor
- Windsurf
- VS Code
- OpenAI Playground
Open Developer Settings and click Edit Config:Windows:Fully quit and restart Claude Desktop — closing the window is not enough.
- macOS: Menu bar → Claude → Settings → Developer → Edit Config
- Windows: Breadcrumb menu (top bar) → File → Settings → Developer → Edit Config
Step 5: Use It
Open your AI client and ask it to use your tool:“What’s the current weather and 3-days forecast for Pune, Maharashtra, India?”
The AI will automatically discover and call your get_current_weather tool, passing the coordinates as query parameters.


Next Steps
Authentication
Secure your tools with API keys and Bearer tokens
Resources & Prompts
Expose static content and reusable prompt templates
Analytics
Monitor tool usage and performance
cURL Import
Import existing API calls directly from cURL commands