> ## Documentation Index
> Fetch the complete documentation index at: https://docs.getmcp.com/llms.txt
> Use this file to discover all available pages before exploring further.
# Installation
> Install and activate GetMCP on your WordPress site.
## Requirements
Before installing, ensure your server meets the minimum requirements:
| Requirement | Minimum | Recommended |
| -------------- | ------------------- | ----------------------- |
| WordPress | 6.2+ | Latest |
| PHP | 8.0+ | 8.2+ |
| MySQL | 5.7+ | 8.0+ |
| MariaDB | 10.3+ | 10.6+ |
| HTTPS | — | Required for production |
| PHP Extensions | `openssl`, `sodium` | — |
HTTPS is strongly recommended for production environments. Most AI clients require or prefer HTTPS connections when communicating with MCP servers. For local development, HTTP works fine.
## Install the Plugin
In your WordPress admin, navigate to **Plugins > Add Plugin**.
Upload the **GetMCP** plugin ZIP file and click **Install now**.
 After installation completes, click **Activate Plugin**.
You should now see **GetMCP** in your WordPress admin sidebar.
After installation completes, click **Activate Plugin**.
You should now see **GetMCP** in your WordPress admin sidebar.
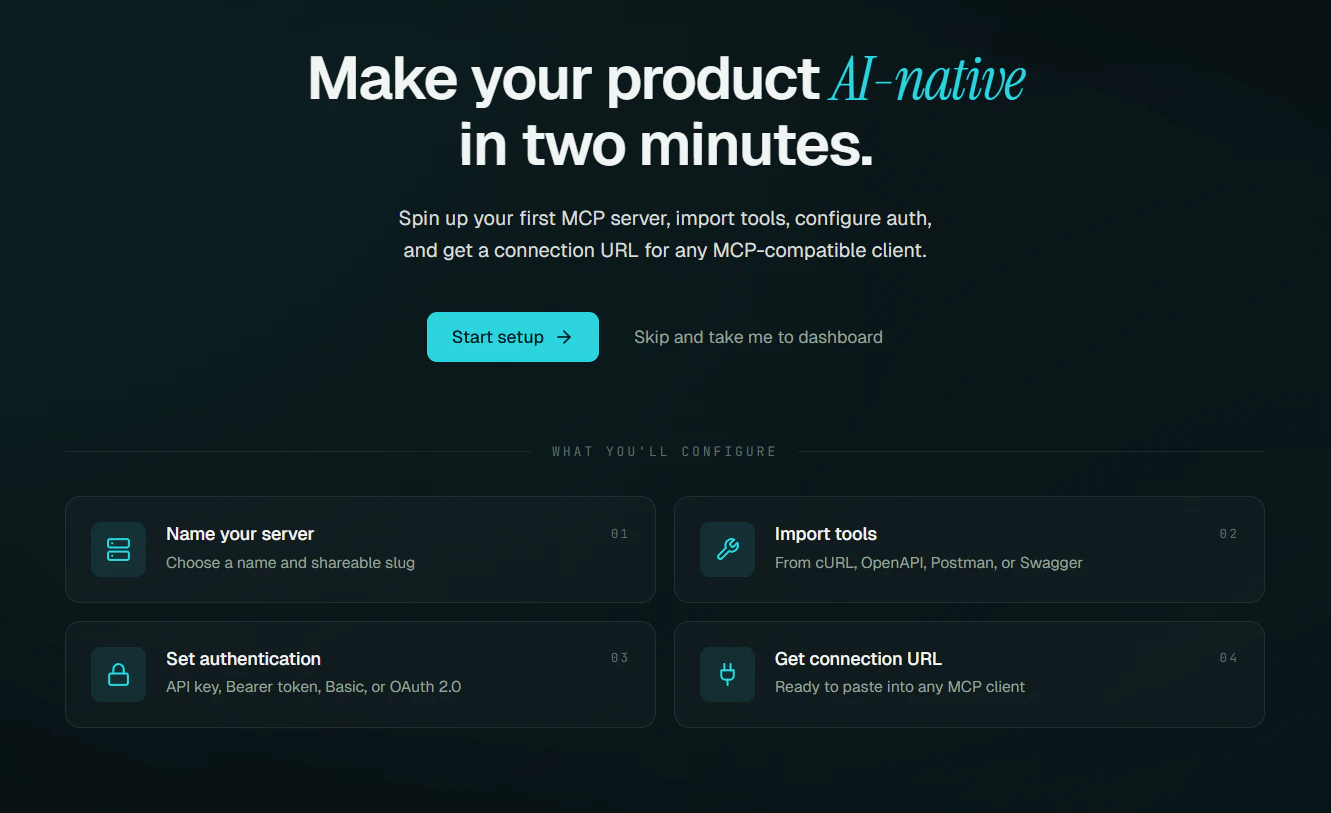
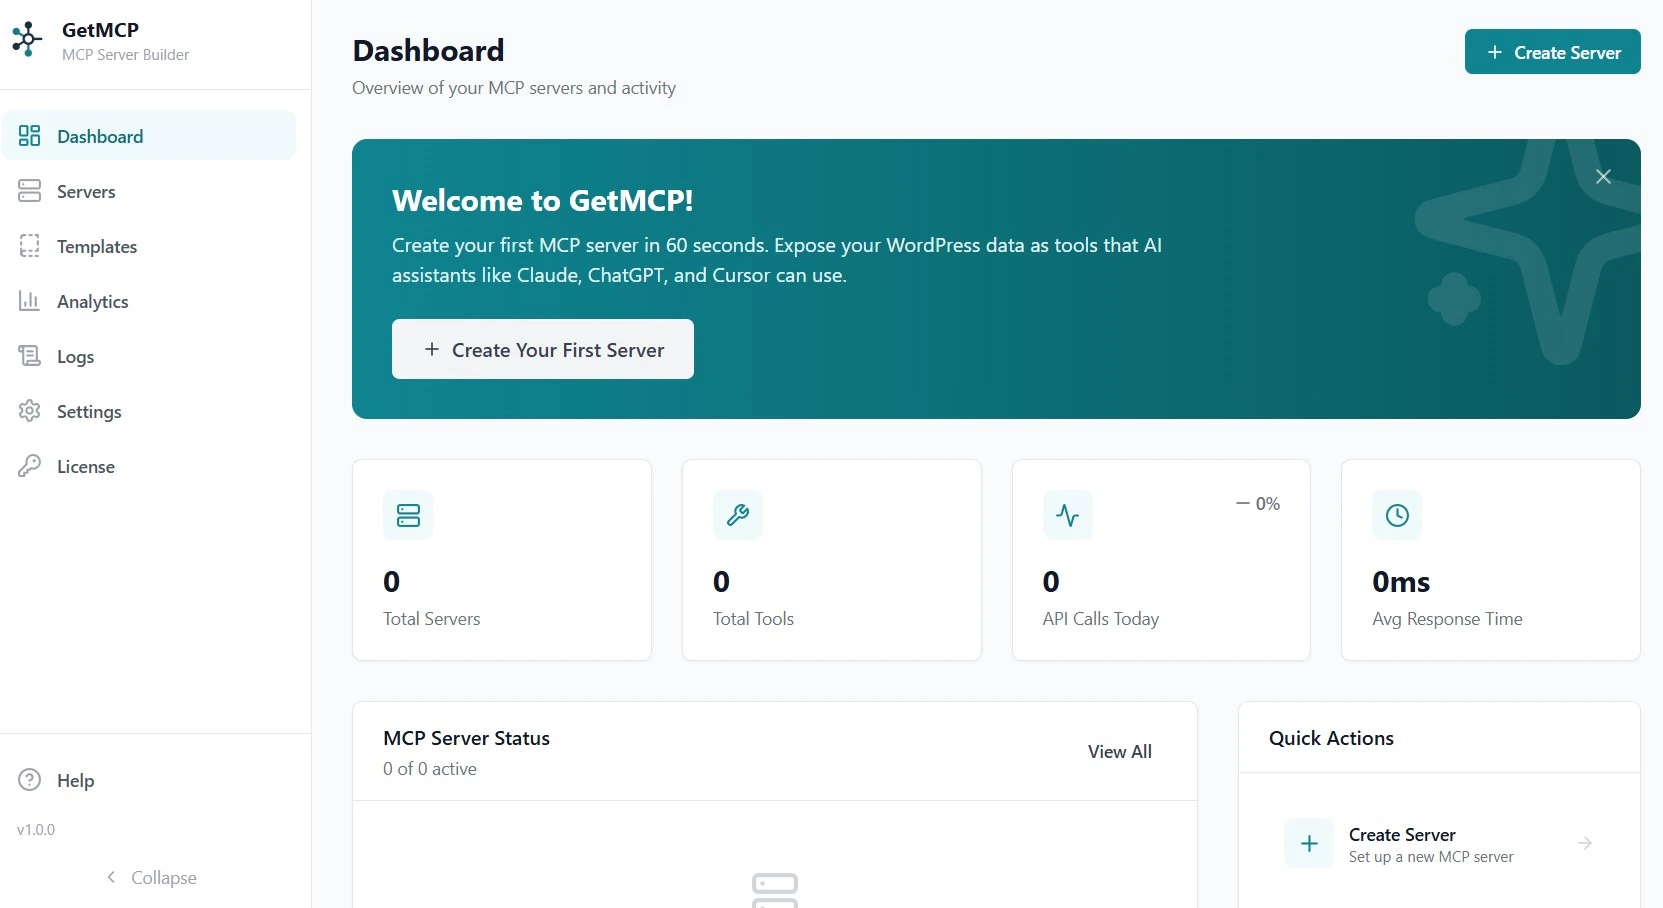 Navigate to **GetMCP > Dashboard**. The onboarding wizard will guide you through creating your first MCP server.
 ## Verify Installation
After activation, confirm everything is working:
1. The **GetMCP** menu appears in your WordPress admin sidebar
2. Navigate to **GetMCP > Dashboard** — the onboarding screen should appear
3. The setup wizard completes without errors
## Uninstalling
To remove the plugin, go to **Plugins > Installed Plugins**, deactivate GetMCP, then click **Delete**.
By default, all data is deleted on uninstall. If you want to preserve your server configurations when reinstalling, enable **Keep Data on Uninstall** in **GetMCP > Settings** before deleting.
## Verify Installation
After activation, confirm everything is working:
1. The **GetMCP** menu appears in your WordPress admin sidebar
2. Navigate to **GetMCP > Dashboard** — the onboarding screen should appear
3. The setup wizard completes without errors
## Uninstalling
To remove the plugin, go to **Plugins > Installed Plugins**, deactivate GetMCP, then click **Delete**.
By default, all data is deleted on uninstall. If you want to preserve your server configurations when reinstalling, enable **Keep Data on Uninstall** in **GetMCP > Settings** before deleting.